Art lessons in Easton, Pennsylvania

002004

Notice the material on the smaller mannequin,  the gray, silver color of the dress. A shiny material can have Refracted light which causes a Reflection in the valleys or deep parts of the folds. These folds are darker in tonal values on cotton for example. Drawing shiny material are small stokes, tedious lines of smooth value ranges.  So, shiny material is classified as 102 level.006

I added a few mannequins to my studio to help me and artist friends with Life drawing, foreshortening views and so on. I want you to notice how the eyeball is a sphere in a socket! Drawing spheres well will help you later on with drawing ans shading portraits.

Graphite

Remember to use the warms tones and cool tones in graphite pencils. The “B’s” are cool tone and the “H” pencils are warm. The cool tones will ‘sink’ in space or push back, while warm tones will come forward in space. This is not a trick of an artist’s hand; it is physics. Look at the write ups I have under drawing in menu for more instruction.

Inktense pencil and oil painting.

Here are two new examples of artwork; Inktense by Jordan and oil painting by Olivia. 004olivias queen

Terrific job ladies!!!

As an artist and teacher I try to inspire and help the creative process with learning unrealized. Learning in your element is a joy to say the least.

Art lessons

Please check out some of my photography on fotoblur.com ! My artwork has been recommended and promoted by other photographers on the website. Amen! Thank you God.

imageI have to say it is wonderful to receive such kinds words when one checks their messages. Thank you Marie, it was my pleasure.

Roxanne,
I wanted to touch base with you to say how happy I was with the work that you did with Liz. Her drawing went from nice to awesome!! Your instruction made her pictures come to life. You are the best!
We will be in touch.
Best wishes,
Marie B.

Oil painting, portraiture

image

001This is the final oil portrait. An excellent example if you work hard at learning,  a new skill level is possible.  It is all a process, realism that is.  You need to play attention to angles and how they change forms and  where the highlights belong.  Every new skill level will advance form here on. The next painting will include these new learned techniques and beyond.  You can do it with

the right  teacher!                                                                                                        

001

August 28th.

Okay, Tom is starting to fine tune detail and really look at forms and shapes.

When you find the painting to be “Stuck” in values; therefore the values are stuck in 4,5,6 and 7 start to add the highlight white on the proper section of the forms. This will allow you to see form and the forms should start to create realism. All the fine detailed placement of highlights should start to make the figure appear or resemble the actual person.

This takes time and the more you paint portraits the easier it will become.

Always paint in the direction of the FORM!     Realism is in layers. No EXCEPTION for the medium.

001The skin tones are starting to create forms and structure in the face. There is a spot on the neck where the canvas isn’t taking the paint very well. It could be the brand of canvas or from using paint thinned by turpentine.  Don’t use turp to mix down the paint; use Linseed oil to thin out paint. Turp is meant for cleaning brushes. The turp will break down the binder holding the pigments together. The paint may flow more easier but the paint is worthless and may fade over time. At this point of learning portraiture there are many layers to achieve; but after painting awhile the layers will be less. You should be able to mix your flesh tones sooner than later in which will allow less layers. In other words you will understand how to achieve flesh with less layers because you are understanding form and it’s depth in a value scale one to ten and ten to one.

→→ Very important: Realism is layers and with each layer there is less paint used with smaller brushes. As you learn how to paint form, flesh and wrinkles [Hill and valley, not lines] you will be able to cut out some layering. Always follow the form in drawing and or painting.

In the final layers “Tapping” tone in with the flat top of the brush will help technique. You are after Blending tones and or the Value scale; one to three blend or four to seven blend of tones. You want to paint where the value range of three’s; example one to three, four to seven in range. The goal is to have the tones blend very evenly.

Start with Burnt Umber and Raw Umber for the flesh base and white. Use a red to tint off the main pool of color.

006
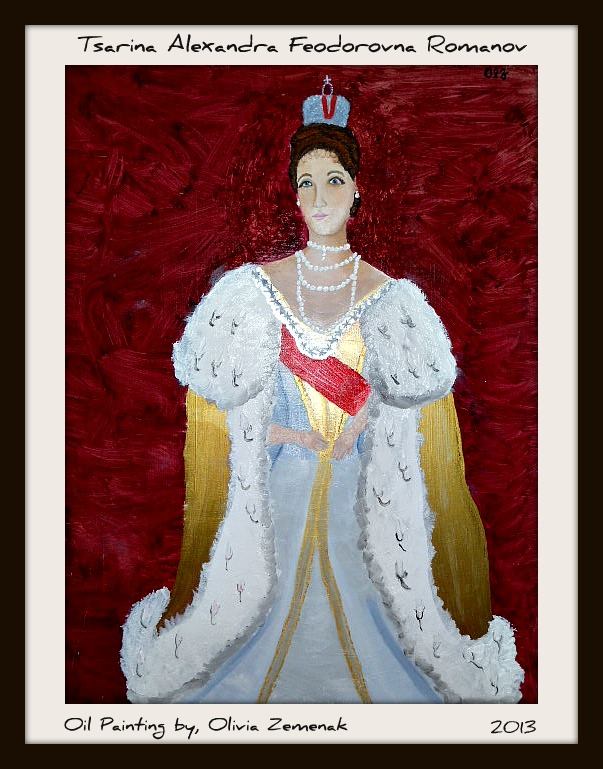
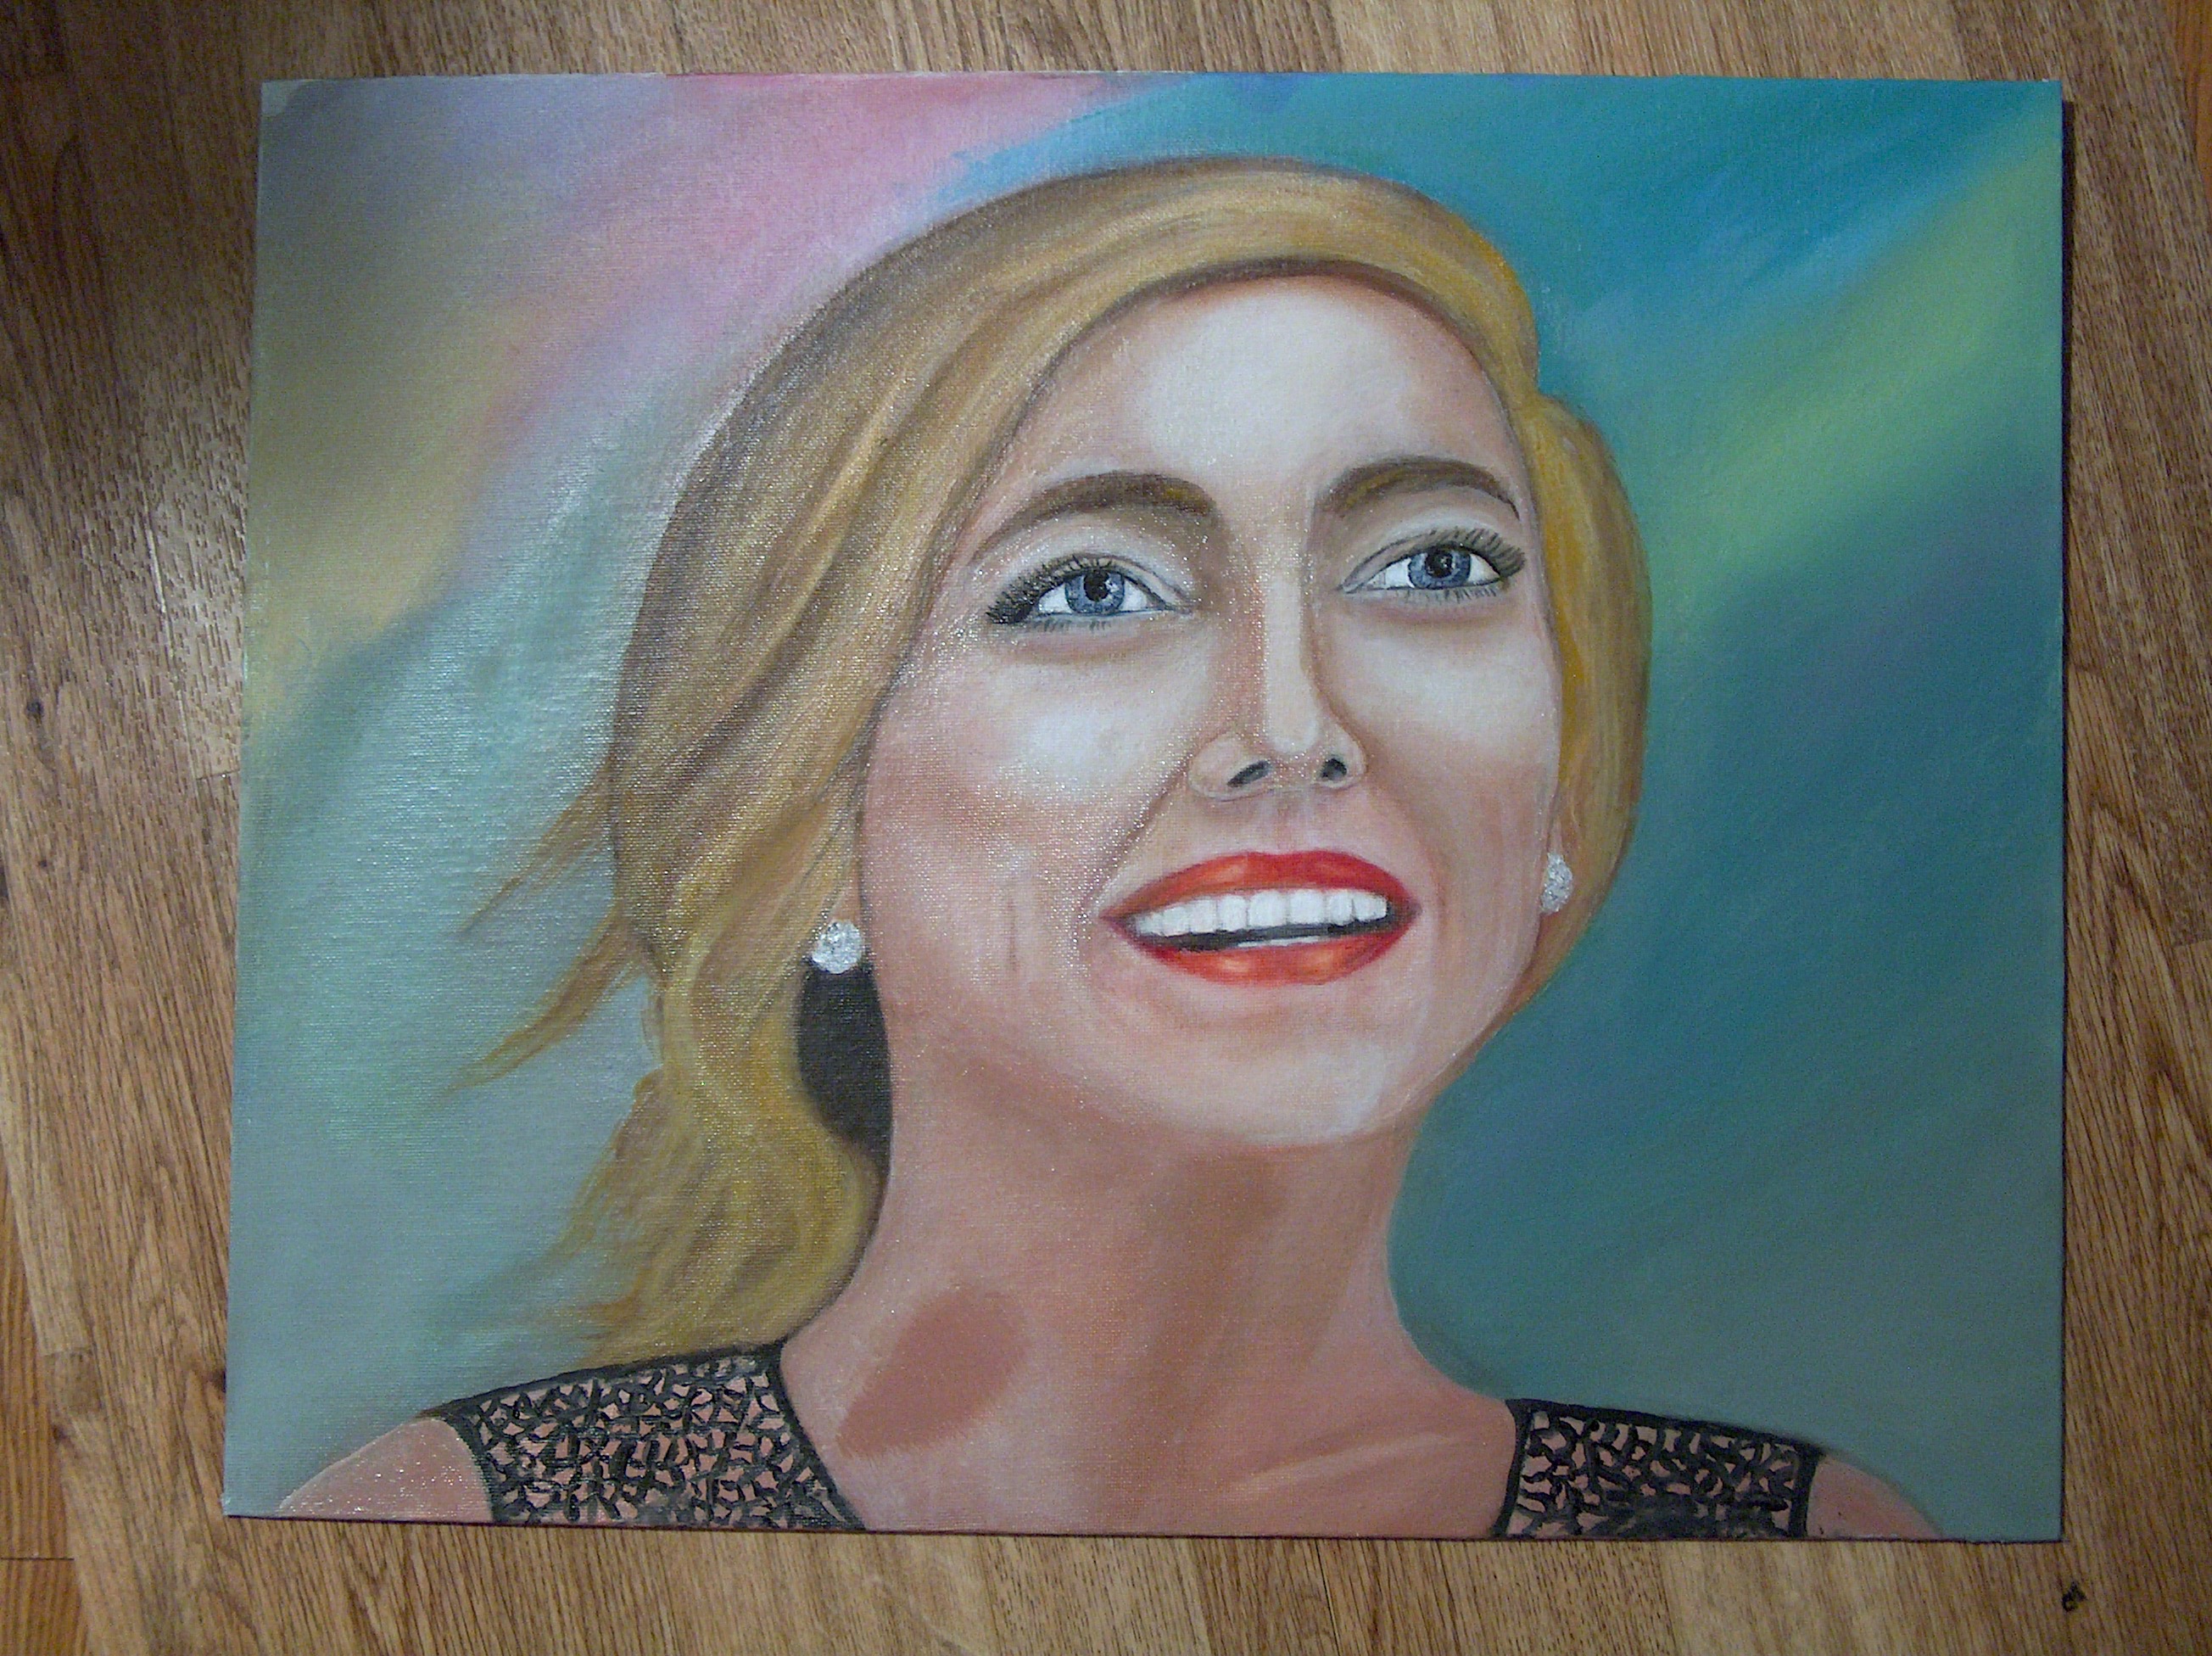
The red background is gone! That’s good. Red is a powerful color and wants to come forward in space. It will fight whatever it is up against. It is about taking your time and learning with smaller brushes and strokes. Realism is in layers with each layer with less paint and area. KEY! always paint in the direction of the form.

002Here is the before and  below after picture.   Since the color was too red-ish for skin tone, by mixing an oil paint in a flesh tone color with more linseed oil, not too opaque to correct the tones. The under color [ red} will come through and add a tint to the semi-transparent flesh color. Oil paint has a nice blending ability  and when it is not completely dry start to “TAP” and blend flesh tone colors in  value ranges light to dark to accomplish form and building form on the face and neck.     Remember to keep highlights in place, anything light will come towards you and darks will recede in space.                                                004

Fine Art Studio

The header I currently have the pictures are not as clear as in shop? When I have more time to play I will work on it.

brown-header_001_001.jpg

I have been busy working on my own portfolio as well as working with my artist friends when I could. Summer has flown by and here it is mid August already! Time for school and getting back to a regular routine schedule.

As far as my artwork goes I finished the large black and white watercolor shown in the center of the header, which I like. Plus, I do need to matte it yet.  Now, I will start to put thought into action on the photography series that  I was working on last spring semester. Not one hundred percent sure where this art series is going, but I have several ideas.  I will know when I get there; plus in the duration producing some beautiful photography. Over all it has been a really great experience thus far.

In between the darkroom come Fall, studio time and family my hours will be filled; just the way I like it. I will make time though for my artist friends. I like to be productive and moving in the right direction.

Learning to see.

Learning to see the details around you; what a leaf or tree for example looks like when you are standing next to it versus  how a tree or the detail of a leaf look in comparison farther away or distance. Take the time to look and notice color and how the color changes and the details or realistic details slightly become unfocused as they go back or a way from you in distance.

I advise you to start thinking about color or graphite in values [one to ten; light to darkest]  for all colors as well as grays/blacks. Are they warm or cool in tone? Warm tones will come forward in space and cools will sink in space. The way God designed it, not an artist trick.  Think about how color fades in distance and lack of detail in landscape.

Don’t worry so much about the name of the color printed on the tube of color, look to see if it is warm or cool in tone and where would you use it on form, shape etc.

Wanting to learn to draw and paint.

I want to share a few thoughts with you about drawing and painting. If you are becoming frustrated with your painting skills and it seems like you can paint to a certain point, but you know something is wrong? Something just doesn’t look right or you wish you just knew how to proceed and improve your skills. This is why you are frustrated, you do not have a solid foundation to work off of. Remember: VERY IMPORTANT; also draw in the direction of the form. Once you are a master of drawing then you may shade in opposite and various directions. Once you completely understand drawing and your skills can hold their own and understand form and shapes {how to bring them to realism} then painting will be easier and you wont be as frustrated. Trust me with this.*********
***********TRUST ME::::::::once you learn to draw and control value and use the warm and cool tones to your advantage the painting and form will be easier. Always draw in the direction of the form or shape of the objects you are drawing. I will be adding video demos in the next few weeks which will help.

I suggest and recommend you go back to learn the basics  and fundamentals in drawing. Drawing 101…….I have several post regarding drawing and improving your skills, in the search tab in the menu. Also, in the menu there are tabs regarding drawing and papers.

Start with re-learning the values in graphite; the H graphite pencils, [warm tone] and B graphite pencils [cool tone]. Make a value scale from one to ten; the first block is just paper white and the tenth block is the darkest you can get the block. Number five is middle tone; therefore number two block light until block five and block six to ten shaded in gradual increments.as seen in the graph. Learn what each pencil can do for you. Notice the hardness and softness of the graphite. H’s are hard and B’s are soft.

Then work on perfecting a sphere. Use a 4H to begin, once drawn well, then add a 2B to the core, the darkest part.

self portrait

003This is how far I was able to paint. Two colors Ivory and Lamp black; warm and cool tones. I have a lot going on at the moment and haven’t had the time to sit down and work, but I will once I get things out of the way first. I am really enjoying the process of this painting and the strong light source with-in the composition.

The absolute best way to improve your artwork is to create a self-portrait! I know that can be scary and you may even think you can not because you don’t know where to begin. Start photographing yourself at various times. Set up a tripod with camera and when the spirit moves you just take a few pictures. Don’t worry about how you look and all of that, just shoot pictures and then regroup.

In the header of my website houses the first watercolor composition I ever painted and who knew? I see many mistakes now…..lol. The material is cool and painted well for the first time. I started a new watercolor from the original picture in a much larger size. I wanted to see how much I have grown as a painter in skill and technique since the first painting was created. I have about four hours so far, I hope to be able to make some time in the near future So far the foundation of watercolor is solid. 007

acrylics

002So far Rose was able to get this far. The wall needed to be separated or to look as though there are two walls. Painting the wall coming towards you in a few darker tones allows the bend to take place. Adding purple to gray paint will allow a natural recess in distance space.

The problem with acrylics is they dry extremely fast. Unless you are looking for fast drying paint then you are in luck, but for artist that need more blending  from the paint then try to use a blender extender in the paint. The extender has a shine to it though even when dry. So, play around first to see the results for yourself. In the following pictures these are Rose’s acrylic painting she wants to finish from years ago. The problem can be in matching tones and values of the colors used in another time. It can be done if you can read value and tone in color. I suggest using glazes to add the realism. Use this technique for oils as well. If you try to match existing  colors you most likely will be repainting the painting. This is where I can teach you to improve your artwork.

Okay, lets break it down:

1. Use the blender extender to equal parts to a paint color you want to use. You can use water but the color will dry flat and a value lighter.  For example;009

We worked on the bottom of the urn. we added a thin layer of a terra-cotta color with blender mixed in a shade darker than the urn. You can even use two shades darker to start to shade and develop depth to create more form or realism. So the darker color went into the cracks and around the sides of the urn. The value of the lightest will be on the highest closest part of the form and the values will reverse in paint; lightest to darkest in value and color.

REMEMBER:  the dark values are towards the back/sides or the parts of the forms that are the most far from you. Anything cool tone color will sink in space and appear away from you. Light values will come towards you in space. This is physics, law of the universe and the way God designed it!

In the above picture you can see a shine which is the blender. It does settle a bit once completely dried, but you can steal it once dry with a protective  acrylic spray and the blender wont be seen. In the  picture below look closely at the bottom two leaves against the urn. These two have been glazed with paint and blender to start to create form and shape of the leaf itself. Look at the upper leaves they are flat and need realism. Stay continued to see this painting develop.

004

TIP: You can place a wet paper towel over the paint, cover with tin foil and place in the refrigerator. Should last a good twelve hours.

TIP:  If your canvas becomes rippled because of being sketched from leaning on something all you need to do is water the spot on the back and use a hair dryer to tighten up canvas. That should work, may need to do twice.